Wednesday, April 18, 2012

Strawberry Lemonade Cupcakes

I really need to do these more often... Anyhoo! Time for more cupcakes :D

I've been doing quite a bit more baking lately, and looking for recipe suggestions, combination ideas and all sorts of fun stuff.

This time, my girlfriend requested that I make Strawberry Lemonade cupcakes. Want to know a secret? I don't even like lemon cake! Oh, the things we do for love.

And time for pictures!

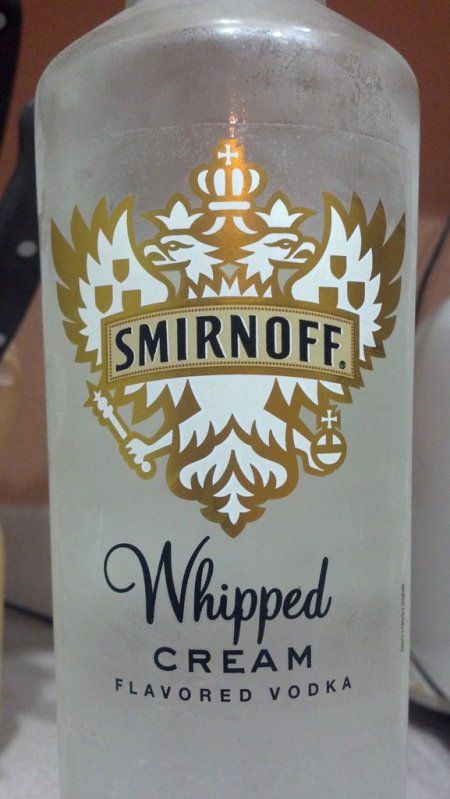
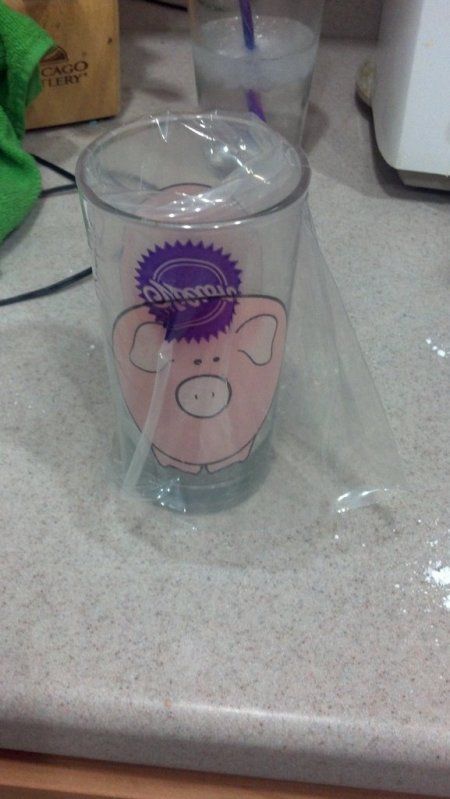
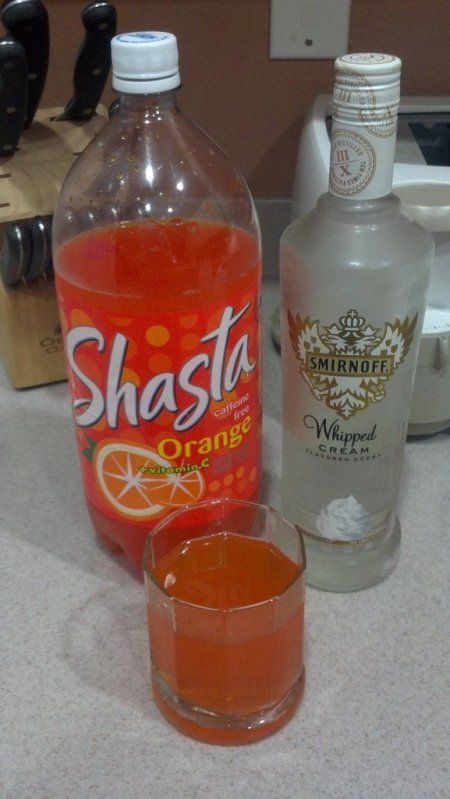
First, my drink. Whipped Cream Vodka (yes, again) and Shasta (!) Orange Soda. Since we got a WinCo in town, I have to have the Shasta soda. It just reminds me of where I grew up :]


And I was so excited to make these, that I forgot to take a picture showing how excited I was! Derp.

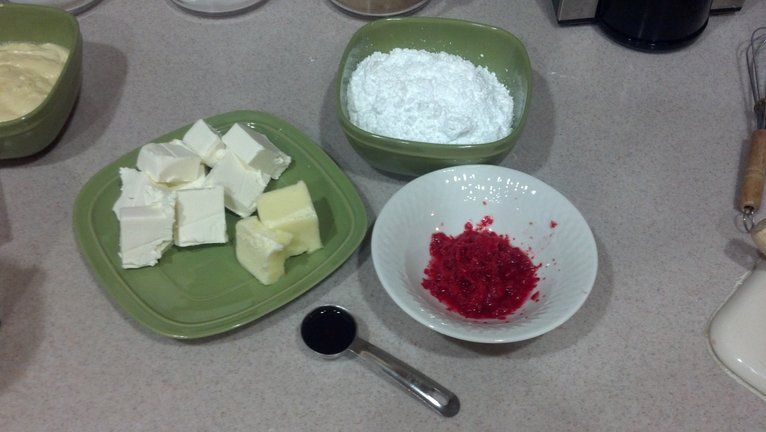
Now, in order to do a "strawberry lemonade" flavor, I made a light lemon cupcake with a strawberry cream cheese frosting. Let's gather our ingredients!

For the lemon cupcakes:
  • 3 cups self-rising flour
  • 1 cup unsalted butter
  • 2 cups white sugar
  • 4 eggs
  • 1 teaspoon vanilla extract
  • 2 tablespoons lemon zest
  • 1 cup whole milk
  • 2 1/2 tablespoons fresh lemon juice


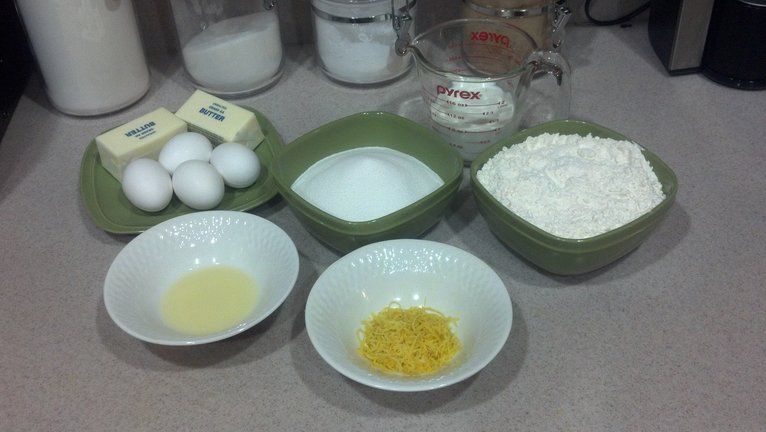
Vanilla extract not pictured... Because I have the memory of a goldfish :D

Pre-heat your oven to 375 degrees, and grease and line your muffin tins.

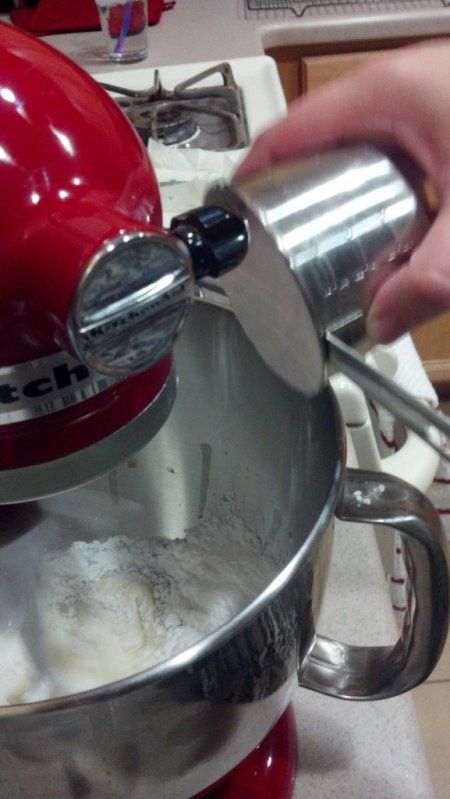
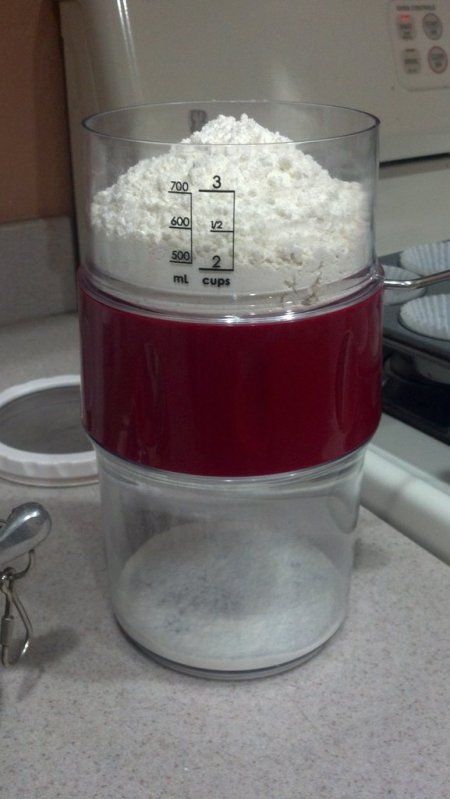
First step: Flour! Now, the recipe calls for self-rising flour. But I don't have any, and I'm not about to buy some for one recipe. So instead, I combined 3 cups of all purpose flour, 4 teaspoons baking powder, and 1 teaspoon salt.

I sifted it together 3 times, but if you can also whisk it together.


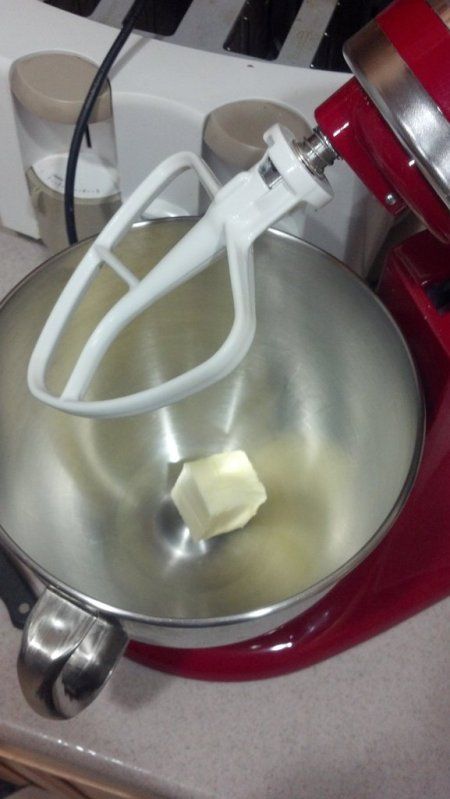
Once the flour is ready, beat together the butter and sugar with your electric mixer.


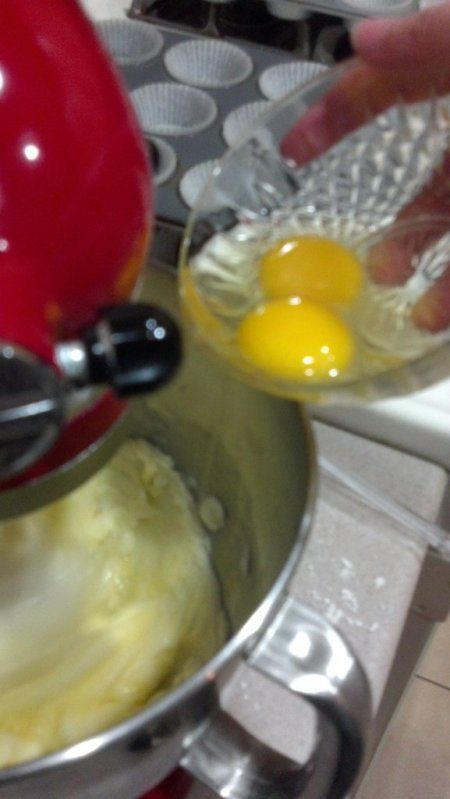
Now go ahead and beat in the eggs. One at a time, making sure each one is fully incorporated before adding the next.


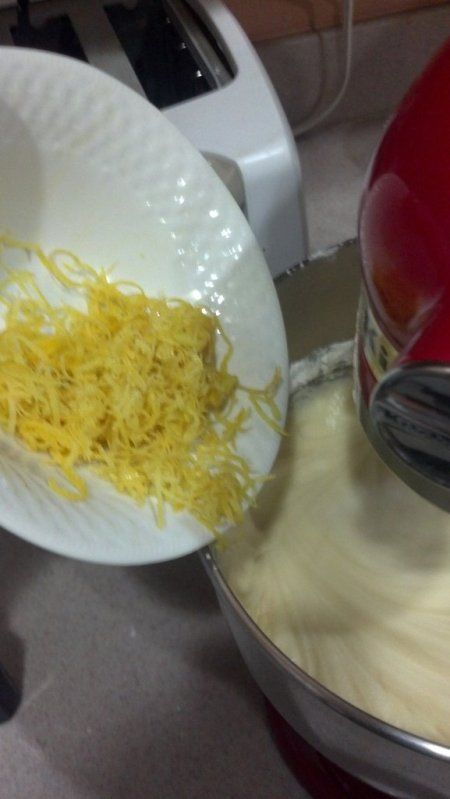
Next, mix in the vanilla and lemon zest.

Now a note on the lemon zest. I have never zested any citrus until now. Boy, do I wish there was a machine for that! Total pain in my neck, quite literally.


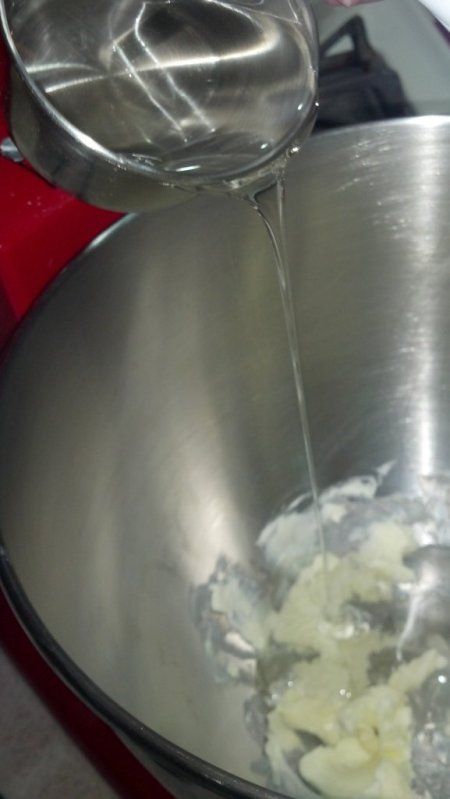
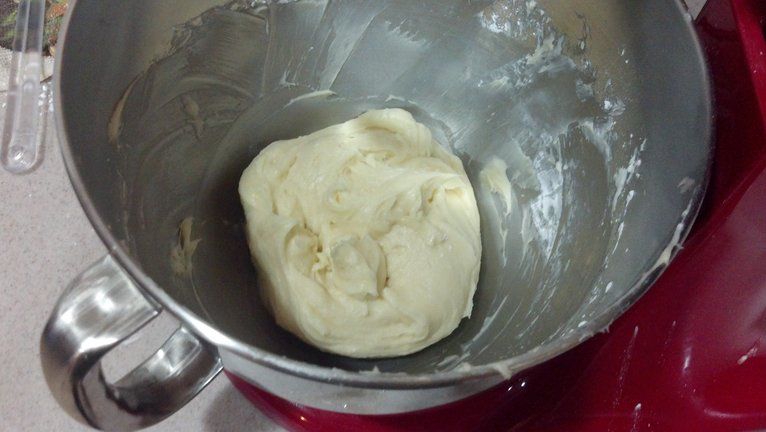
After the lemon zest and vanilla are all mixed in, it's time for the flour, milk and lemon juice.


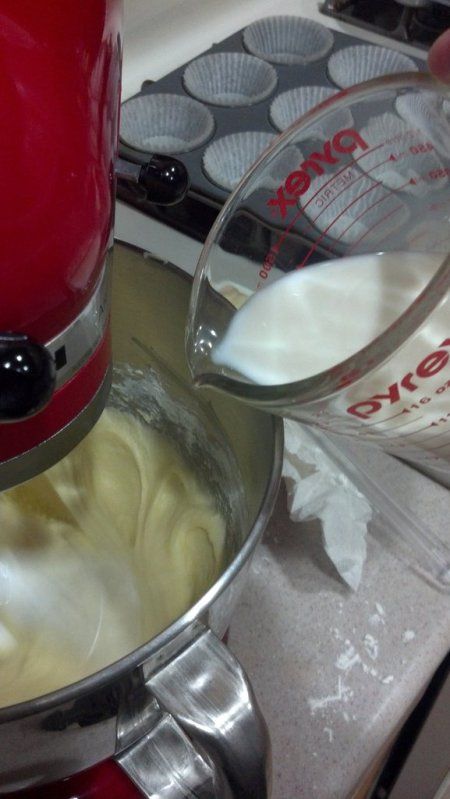
Add 1/3 of the flour to the butter mixture, then half of the milk and half of the lemon juice. Add another third of the flour, then the rest of the milk and the rest of the lemon juice. Lastly, add in the remaining third of the flour.

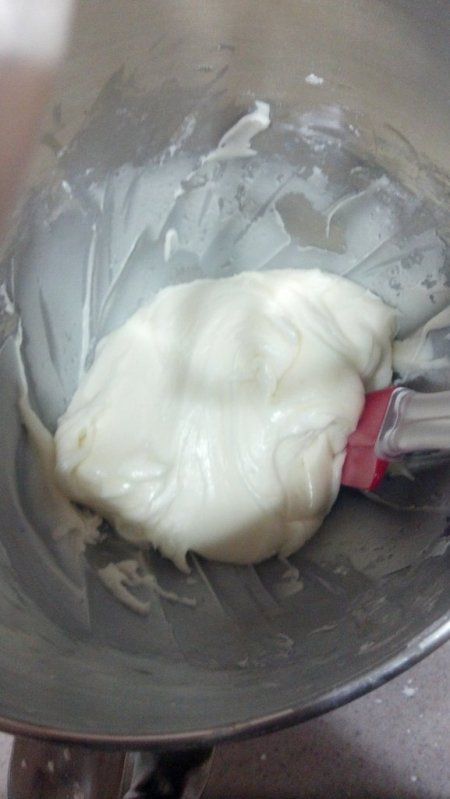
Beat until just combined, be careful to not over mix.

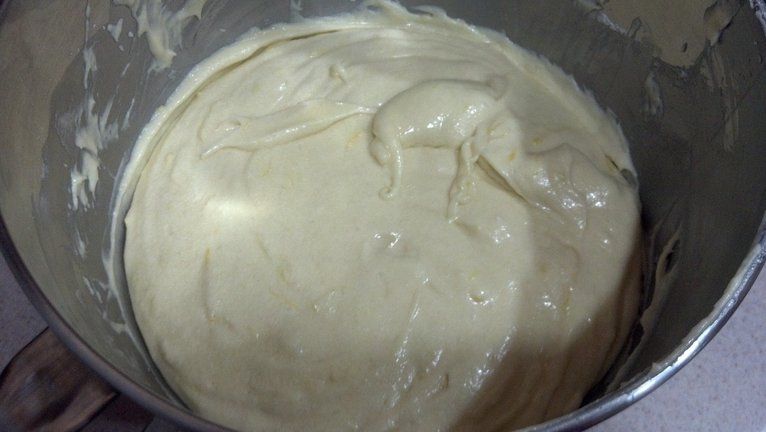
Once it's all mixed in, it should look something like this:


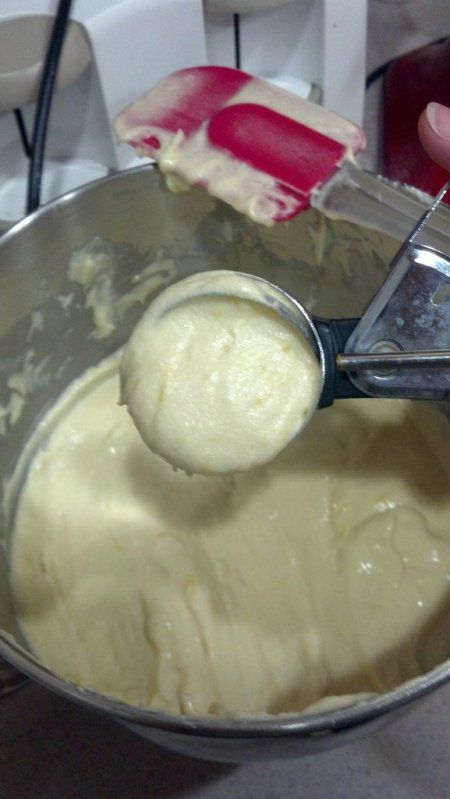
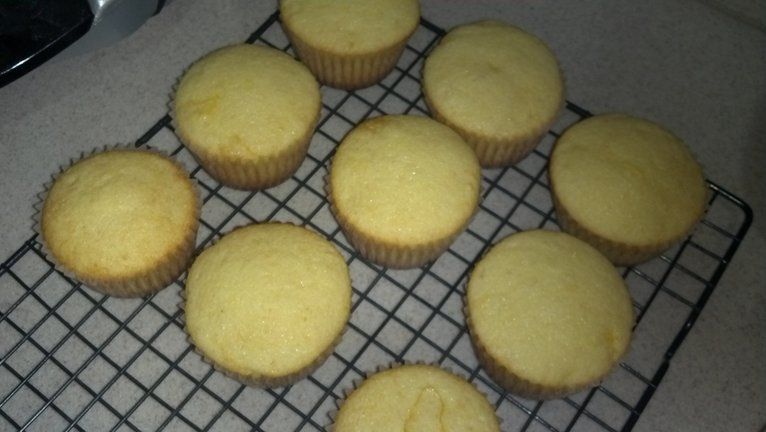
Now grab your ice cream scoop and fill those tins! Only about 2/3 full please :]


For bake times, I checked mine after 13 minutes, and they were still raw in the middle. 16 minutes seemed to work perfectly.

While those bake away, we're going to work on our frosting!

For the strawberry frosting:
  • 8 oz cream cheese
  • 5 tablespoons butter
  • 2 tablespoons vanilla extract
  • 2 cups powdered sugar
  • 2 tablespoons fresh strawberry puree


Side note time! Here, the recipe called for "fresh" strawberry puree and 2 tablespoons of vanilla extract. I didn't have fresh strawberries, and I forgot to thaw the frozen ones that I did have. Also, I wanted more of a strawberry flavor.

So instead, I used 1 tablespoon of vanilla and 1 tablespoon of strawberry extract mixed in with strawberry puree.

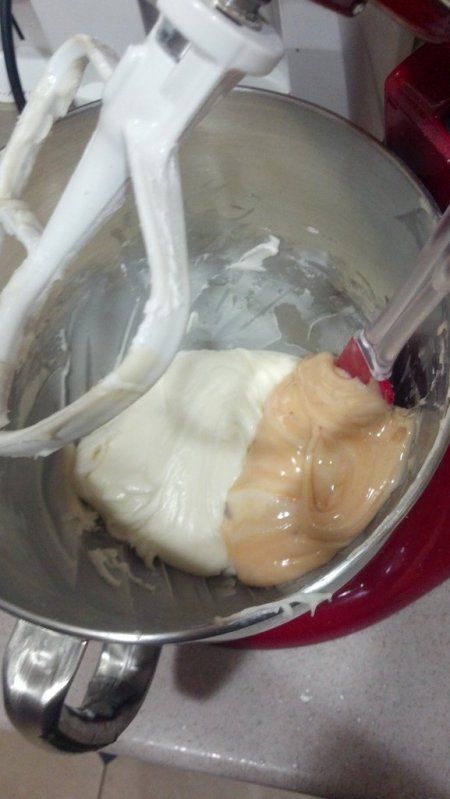
First cream together the butter and cream cheese.


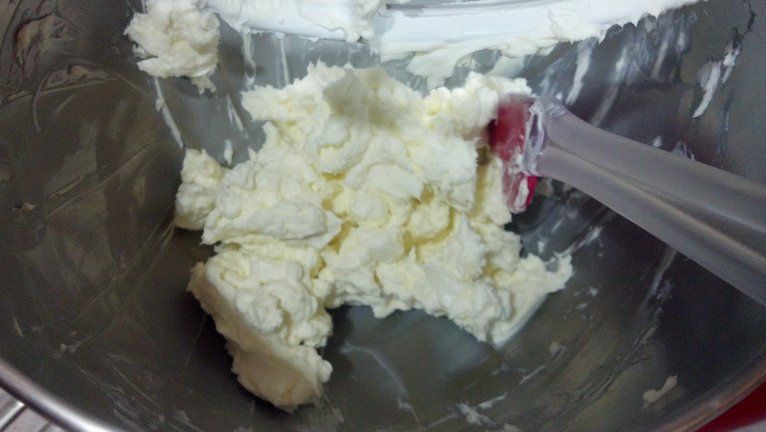
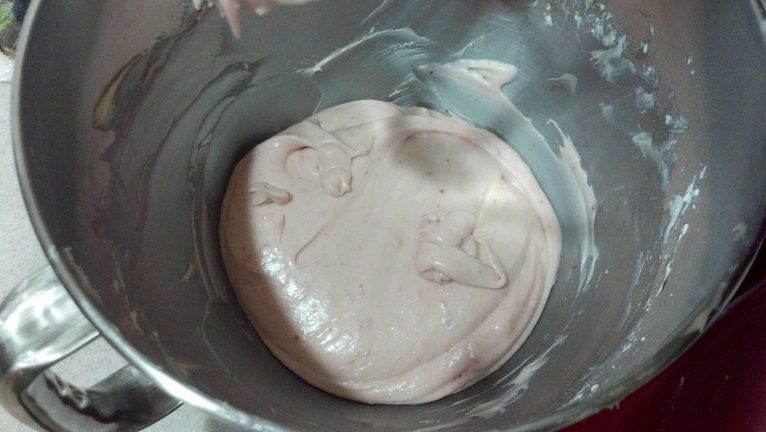
Mix in the vanilla real quick. Next, is the powdered sugar.

With the powdered sugar, you want to add it gradually to make sure it mixes in real nice and smooooooth.

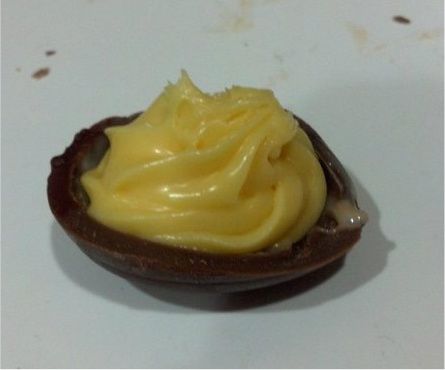
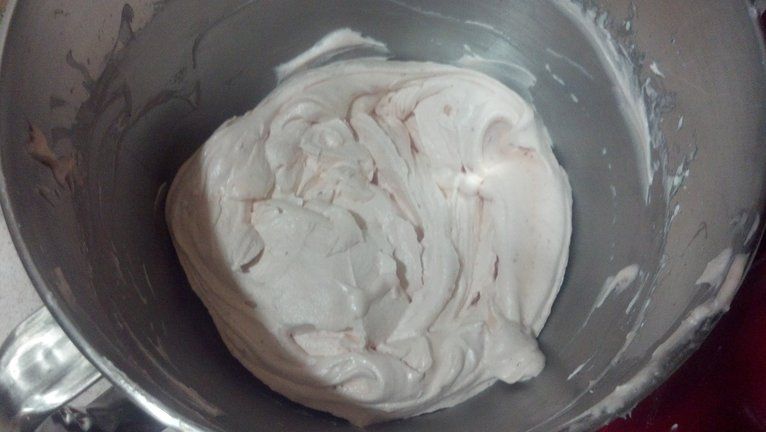
Here's about what it looks like after all the powdered sugar is mixed in:


Lastly, add in the strawberry puree.


Now you want to whip it really quickly for a while so you can get a lot of air in there. We want it light and airy.


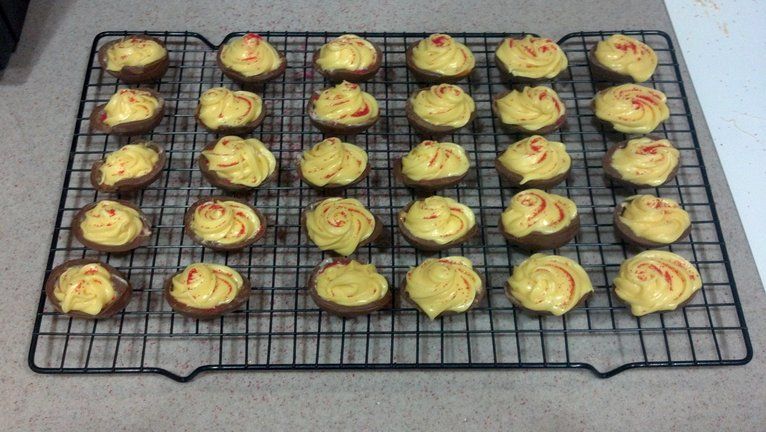
Let's get our cupcakes all ready to frost :D

Mmm... Yummy little blank canvases!


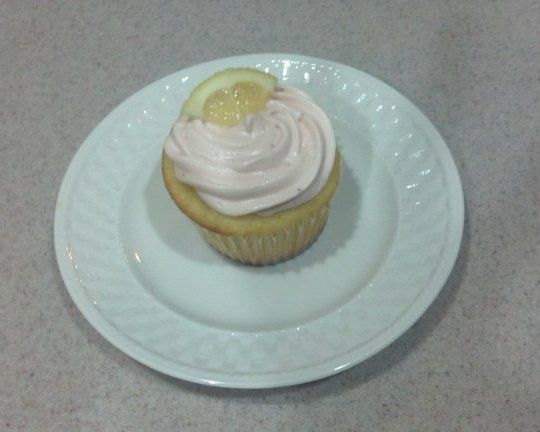
As usual, fill up your piping bag and go to town!


Ta-da!


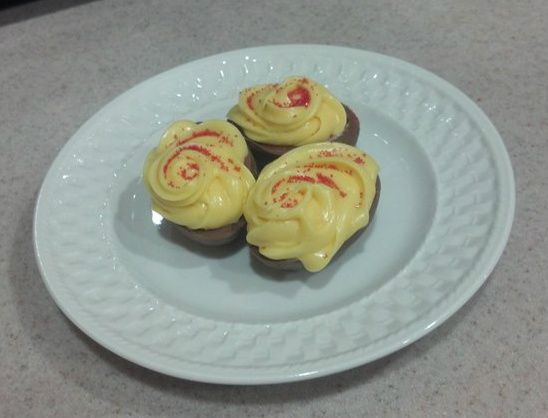
Please excuse the poor quality pictures. I still haven't gotten around to buying an actual camera just yet.

I think they look pretty damn cute, if I do say so myself :]

As far as taste is concerned, YUMMY! I'm not usually a fan of lemon cake, but I am really happy with how these turned out!

Next time, I'd like the frosting to be a little bit thicker. It was a little too thin for my preference, but tasty nonetheless.

All in all, I'd say these were a smashing success! Please, please, PLEASE try this recipe yourself and let me know how it turns out! I'm dying to know!

Tuesday, April 3, 2012

Deviled Creme Eggs

OMG! What is this? A second post! I know, I know... It's been a while. Buuuuut I have another one for you, and boy, is this one is FUN! First off, my drink! Nothing crazy here, just some Smirnoff Whipped Cream Vodka and Sprite. Yummy!


Okay, so. As you all know, Easter is right around the corner. And what is the first thing that comes to mind when you think about Easter?

CANDY!

My face gets super squishy when I get excited about things:


So that should give you a pretty good idea about how stoked I am for this.


I saw something online the other day that was absolutely AMAZING. Someone took Cadbury Creme Eggs and made a DEVILED EGG version!


http://www.smashboxstudios.com/yello/2011/04/weekend-delight-cadbury-creme-deviled-eggs/


I squealed so loud when I saw this! But then I looked at the recipe and process. Unfortunately, they simply cut the egg in half, and topped it with yellow buttercream. I'm not gonna lie, this saddened me a bit. So I decided to do something about it! I made my own :D


Okay so, to start:
  • 1/4 cup of butter
  • 1/2 cup light corn syrup
  • 3 cups of powdered sugar
  • 1 teaspoon of vanilla
  • Yellow Food Coloring
  • Red Sprinkles
  • 1 bajillion Cadbury Creme Eggs (JK. I used 20)


First, we're going to work on splitting the Cadbury Eggs in half. For this I used a plastic cutting board, a knife (duh) and a glass of warm water for the knife to sit in. I also had a bowl to put the creme "yolks" in and a cooling rack to sit the halves on.


The first method I tried was kind of laying the egg on its side, and then slicing horizontally along the seam with the knife. This is how well that worked:


So then I tried to do it a different way! This time, I stood the egg up and tried slicing vertically, still along the seam. This one worked MUCH better!


After splitting the egg, take a small spoon and transfer the creme filling into your bowl. Ta-Da!


Go ahead and put your empty egg "shell" on the cooling rack to hang out while you finish the others.

Then repeat that process over, and over, and over, and over... Until you have a whole bunch of egg "shells" and a bowl full of "yolks!"

I stashed my chocolate "shells" in the fridge while I worked on the next step. I'd hate for them to melt before they even have a chance to meet their filling!


Now, we have two options here. One, is to make our own filling from scratch. The other, is to take the filling we already have, and pipe that into them. I chose to do both. I made a creme filling from a recipe found online, and combined it with the normal Cadbury Creme filling.


BUTTA! Throw that butter into your mixer and cream it up just a smidge.


Now let's pour some silky light corn syrup in there and get them all nice and cozy.


Aaaaand why not throw some vanilla in there? After the vanilla, we're going to add the powdered sugar. You want to make sure you add it SLOWLY. Let each bit fully incorporate before adding any more.


After all of the powdered sugar is added, it should look like this:


At this point, I added the Cadbury Creme "yolks" and mixed them in all nice and velvety like.


While that was mixing, I also threw in a little bit of yellow food coloring to give it that perfect deviled egg look. By the time it's done mixing, it will look somewhat like this:


And at this stage, I was faced with a dilemma. With the creme filling as is, the consistency is very... Goopy. It's similar to Silly Putty! If you leave it sitting for a minute, it will start to droop, and melt almost. Now, for piping, that just won't work. So I could mess with the taste, and fix the consistency, or leave the taste and deal with terrible consistency.

So I decided to mess with it. Because, why not?! I added a few tablespoons of powdered sugar in order to get it to firm up and work better with piping.

Now let's fill our piping bag! I saw this trick online too. You want to take a glass, and set the piping bag in the glass, pulling the end of the bag over the glass. Like so:


And:


I LOVE this trick. It makes filling the bag so much easier and less messy!

And I FINALLY remembered to pick up metal tips! YAY!

Now simply pick up and empty "shell" and pipe in your delicious filling!

It took a few tries to get it to cooperate, because it is SO STICKY. But just stay at it, and you'll be able to pipe that filling into submission. See?


Then throw on some red sprinkles for the paprika, and voila!


Finished product:


SO PRETTY!

Now... As far as taste goes...

I LOVE IT!

Keep in mind, Cadbury Creme Eggs are sickeningly sweet. They always have been, and they always will be. To me, these tasted almost exactly like the original, simple Cadbury Creme Eggs. Just a different, unexpected look for a little fun :]

Hope you enjoyed my entry today! Thanks for reading :D