Wednesday, August 8, 2012

Vanilla Nutella Butterfly Cakes


OMG! Only 2 weeks between new posts?! CRAZY. But don't get used to it :P


So here is the story behind today's creation. One of my bosses is Welsh, and was talking about butterfly cakes today. I had never heard of them, and I thought they were an ADORABLE idea. While trying to come up with a nice flavor combination, I mentioned "Nutella" and got an instant YES!

And ta-da! This recipe was born.

Also, I have another treat for you today! Not one you can eat, but still pretty amazing. A special guest appearance by...

MY SEA-STAR!

Her name is Amber. She's pretty awesome when she's not being a brat :P


Squishy, excited face for me. Fake, sarcastic face for her. *sigh*

Also, no drink for me since I am on migraine medication at the moment. This is the first edition of MySoberBakery!

Anyhoo! Onto the recipe!

Vanilla Cupcakes:

  • 2 2/3 cup all purpose flour
  • 1 1/2 cups sugar
  • 1 tablespoon baking powder
  • 4 egg whites
  • 1 cup whole milk
  • 1 tablespoon vanilla
  • 2/3 cup salted butter, softened
Now this is the original recipe, but I did make some substitutions. Instead of the whole milk, I used 2%. And instead of butter, I used oil.


Alrighty! Preheat your oven to 350 degrees. Grease/spray and line your cupcake tins.


Cute liners, amirite?

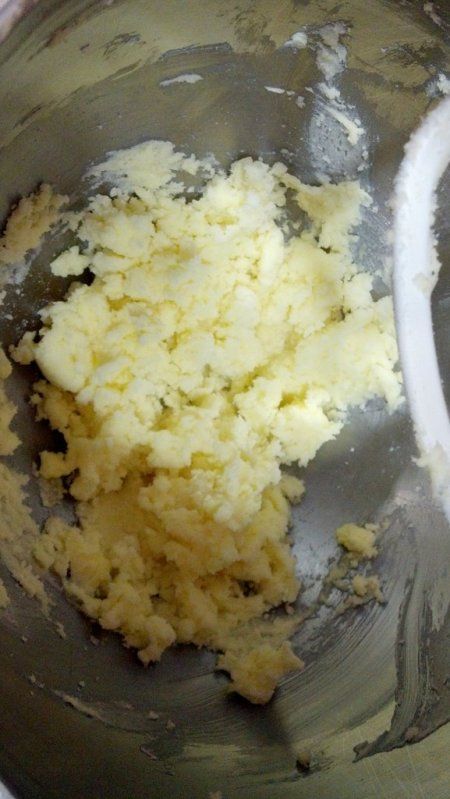
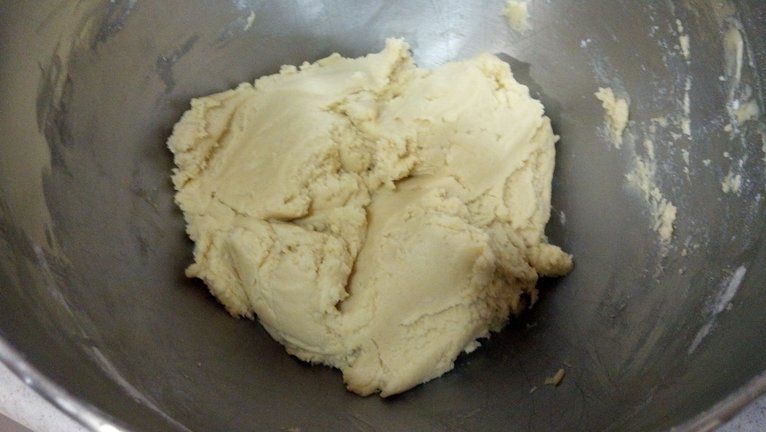
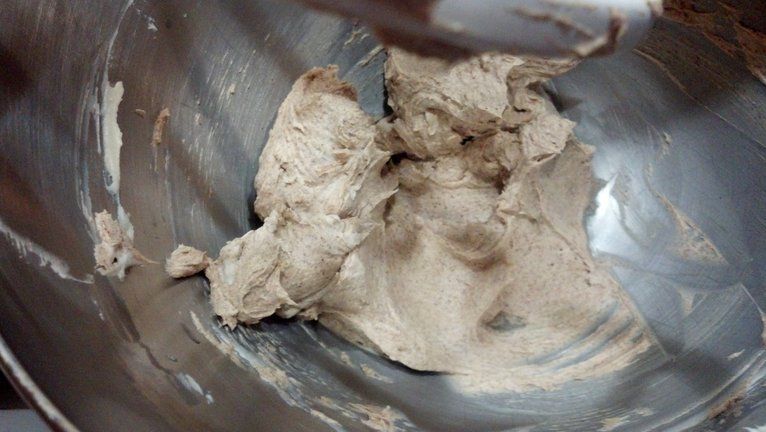
Next, cream together the butter (or in my case, oil) and sugar until it looks something like this:


Nice and yuck, huh? But have faith, it'll end up all yummy in the end :]

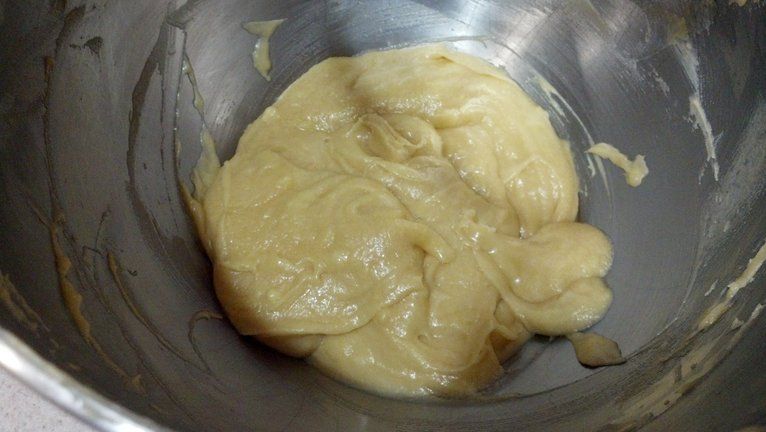
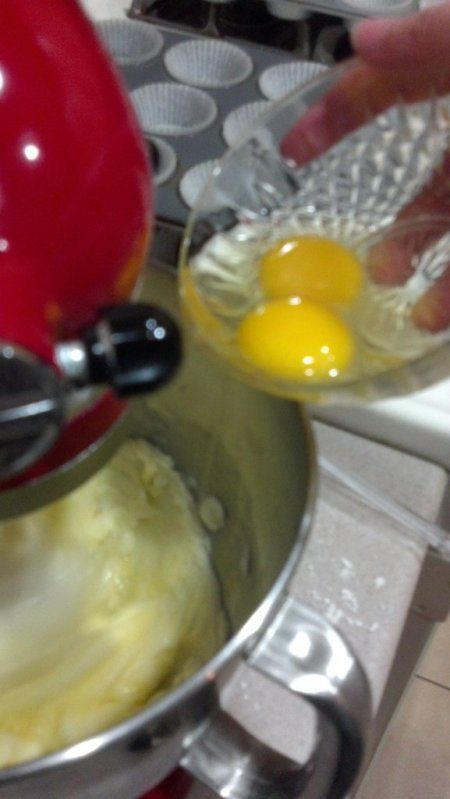
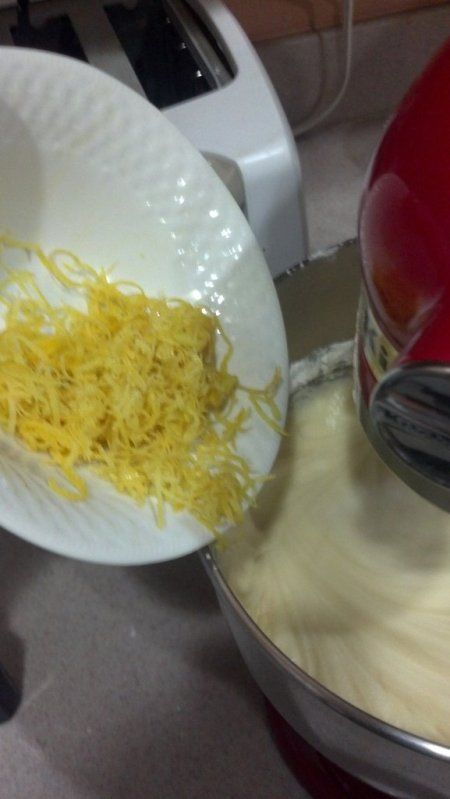
After that, go ahead and mix in the egg whites and vanilla.


Mmm... not much more appetizing, eh? *shrug*

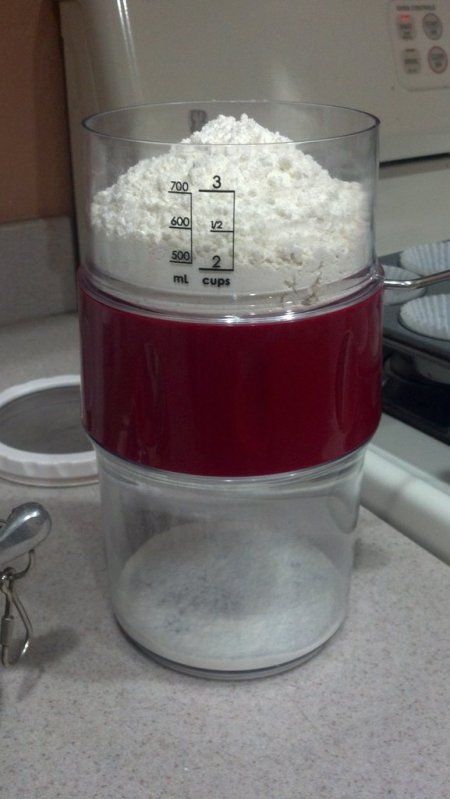
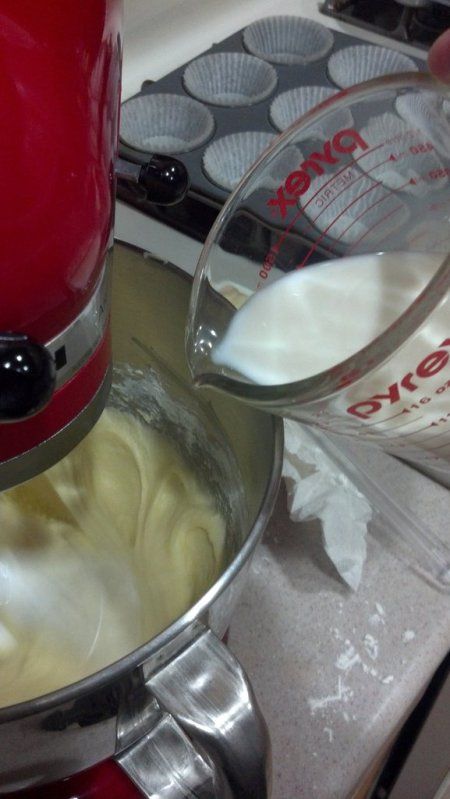
Now let's start adding in the dry ingredients. Whisk (or sift) together the flour and baking powder. Then, start slowly adding the flour mixture while alternating with the milk. 

Flour:


Milk:


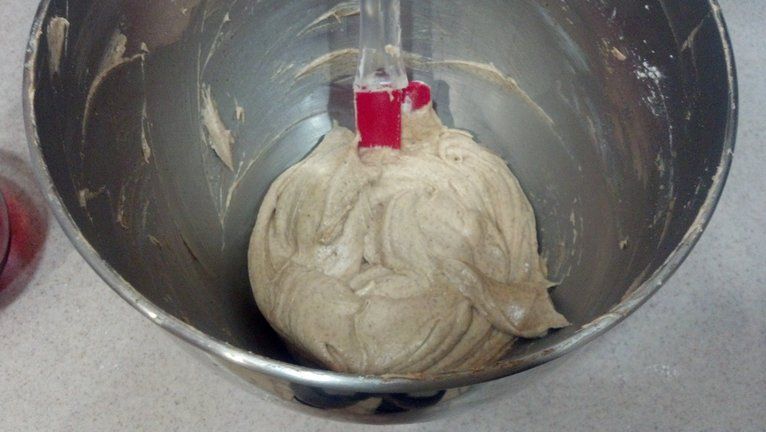
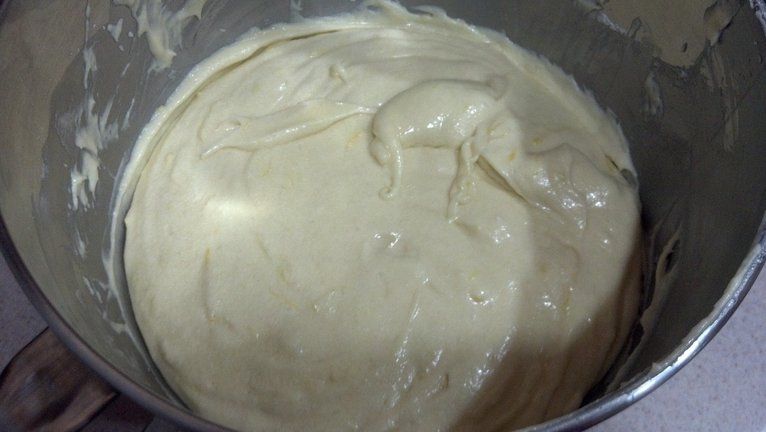
Now remember to be careful here. Don't over mix. Wait until they're just incorporated and then finish by hand. When the batter is ready for baking it should be all pretty!


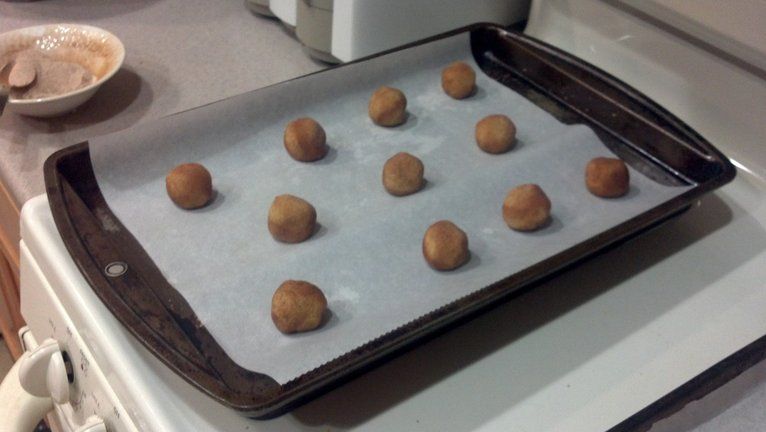
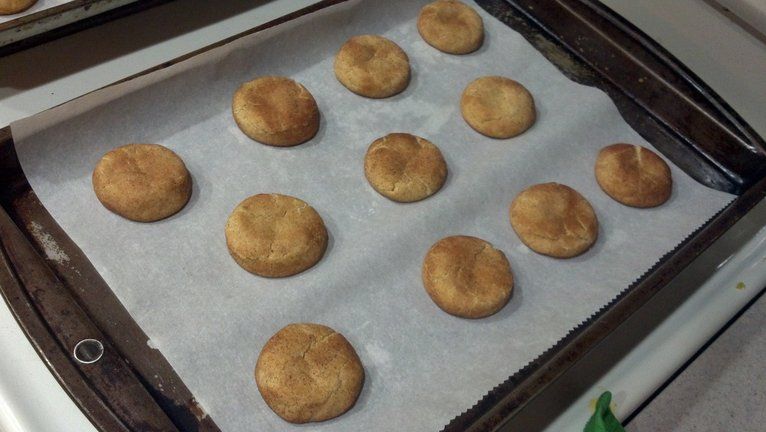
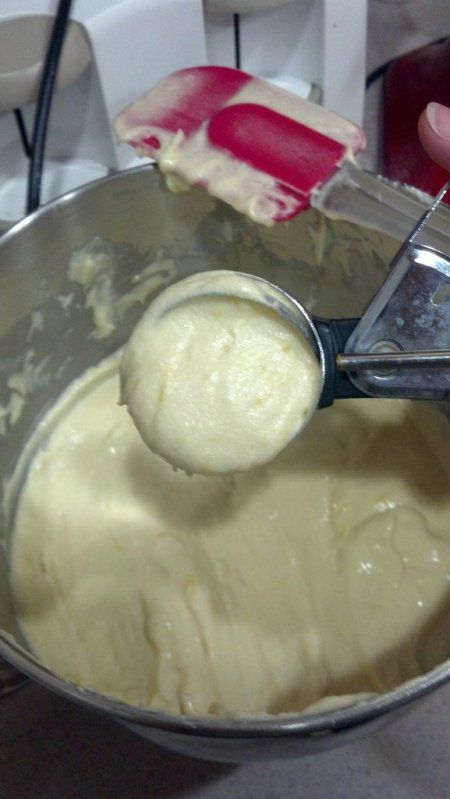
Grab your ice cream scoop and fill your liners. I filled mine a little more than usual, on accident, and they turned out pretty okay.


Pop those babies in the oven for about 15 minutes. 

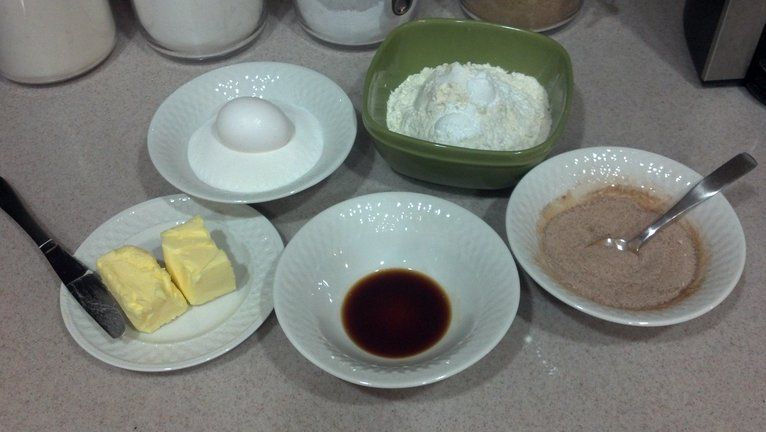
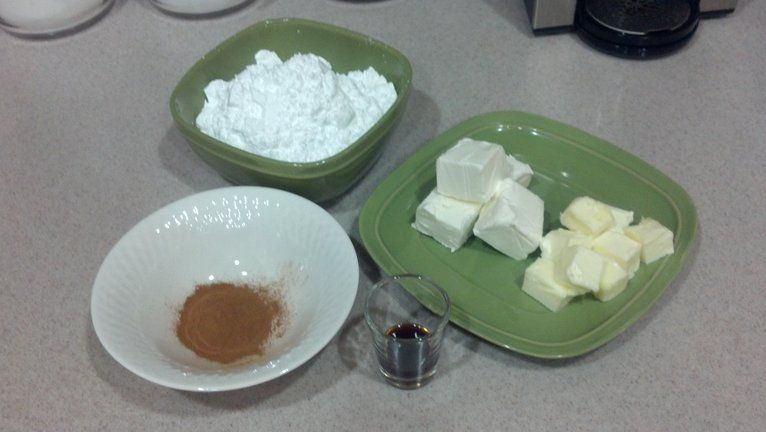
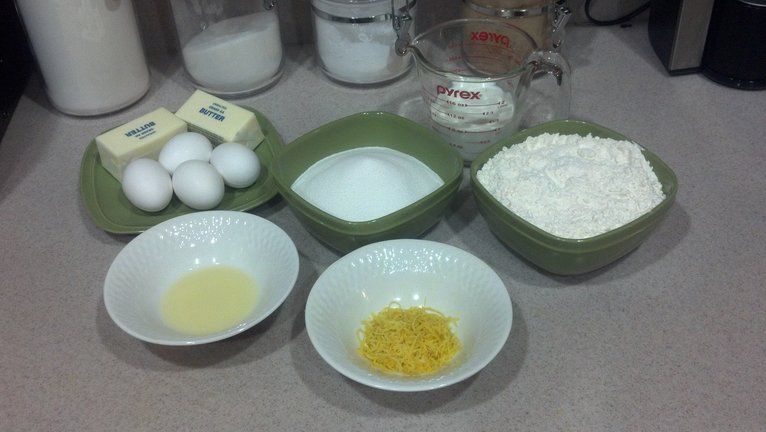
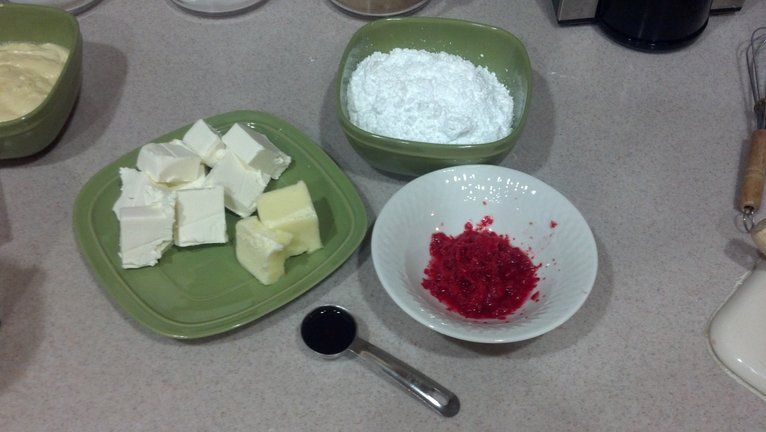
And while they're puffing up, let's get started on the frosting. Here is what you need:


For the Nutella Frosting:
  • 1/2 cup butter, room temperature
  • 1 cup Nutella
  • 1 cup powdered sugar
  • 1 teaspoon vanilla extract
  • 1-2 teaspoons milk (as needed)


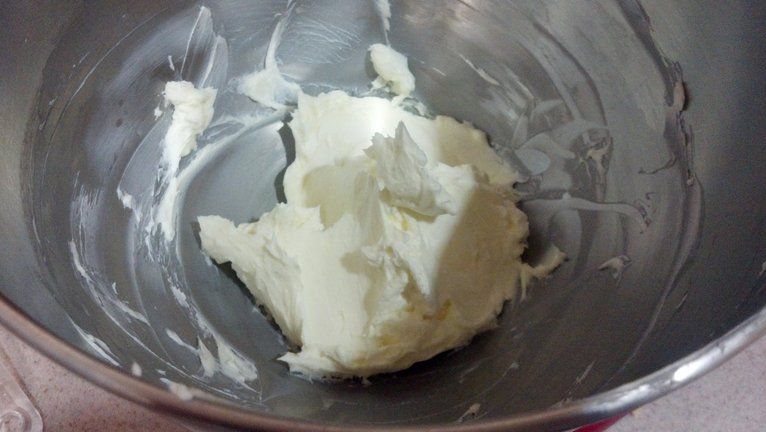
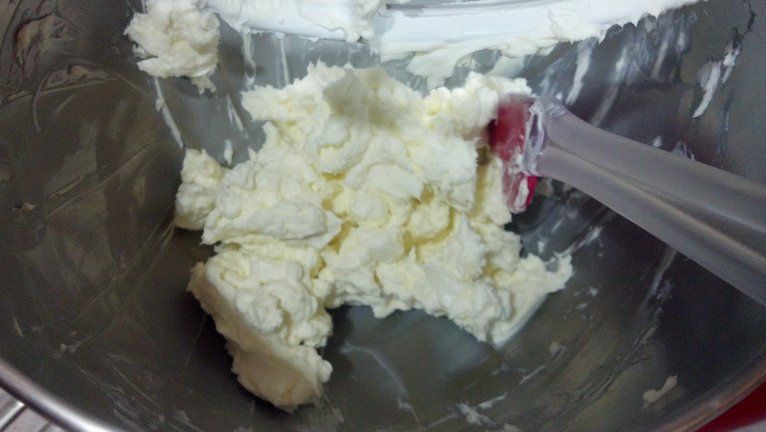
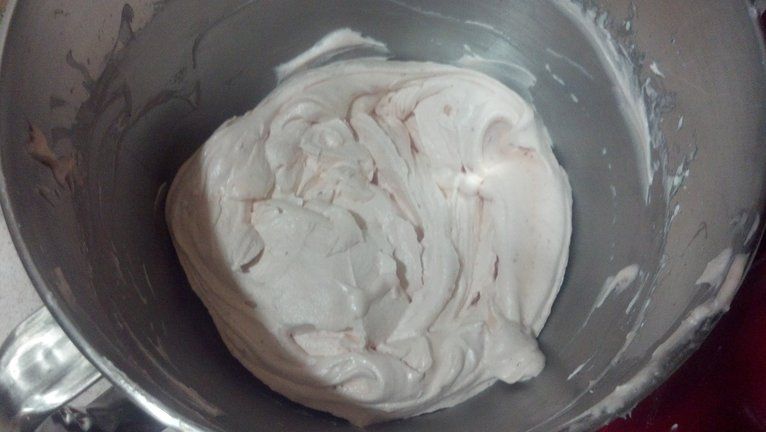
Start by creaming the butter so it's nice and smooth.


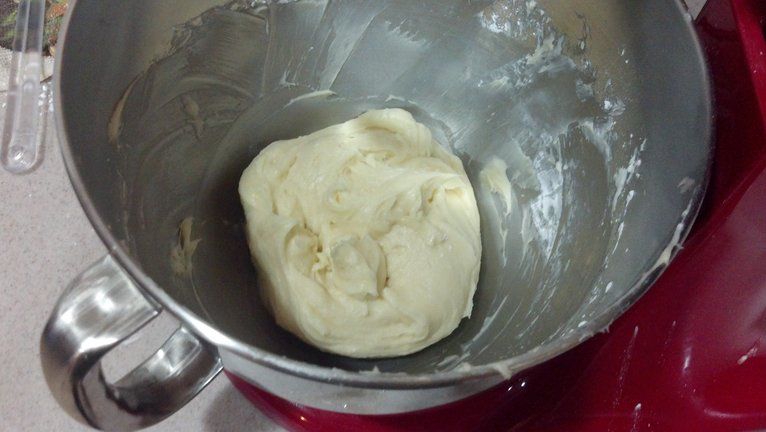
Mmm, creamy. Next add in the Nutella and MIX! 


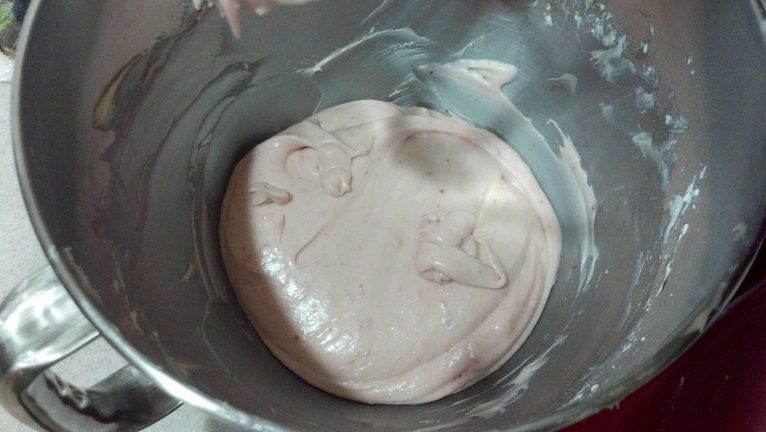
Once it looks like that, add a little bit of milk to smooth it out. Be careful though, you don't want to add too much.

Don't forget the vanilla!


Tasty! I know it doesn't look like much, but it gets the job done, trust me :D

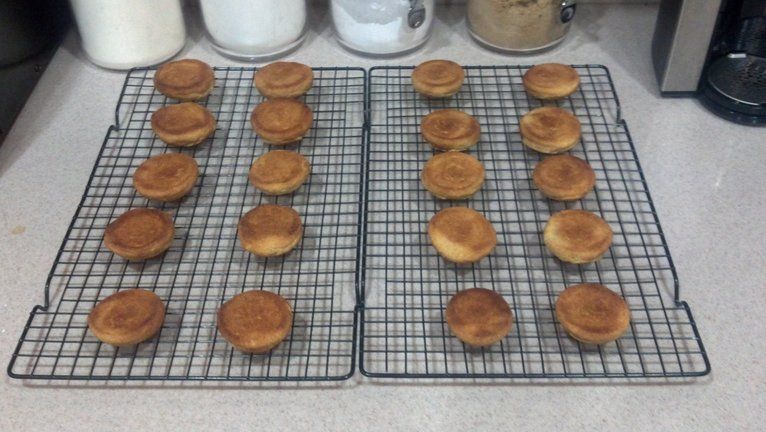
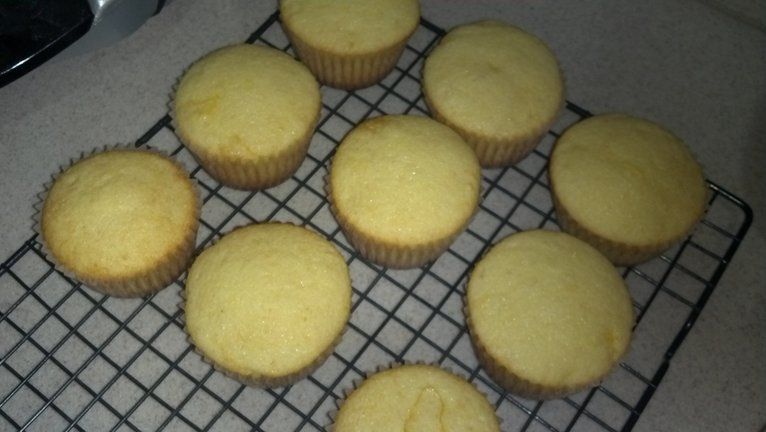
By now your cupcakes should be done. Take them out, let them cool in the pan for a split second, and move them to the cooling rack as soon as you safely can.


Now here comes the butterfly part. We're going to cut an inverted dome shape in the top of the cupcake, and SAVE the part we cut out. 

Like this:


After being cut:


And don't forget to save the tops!


Now after you've cut all the cupcakes, we're going to cut the tops in half. 


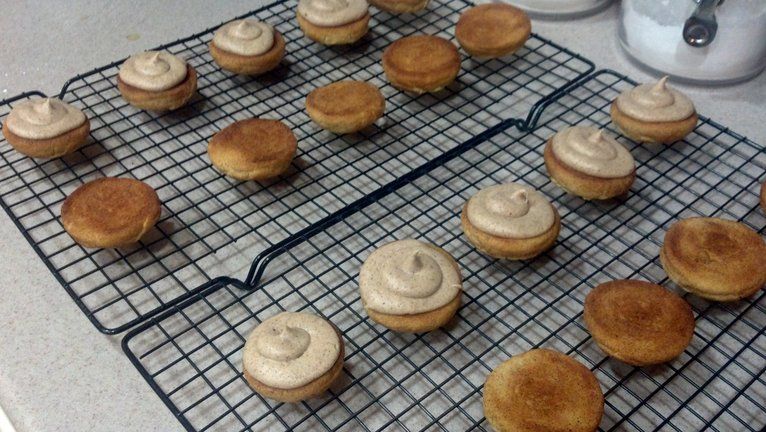
Time to put it all together! Prepare your piping bag, and fill the crater in the cupcakes, leaving a little extra if you'd like.


Then, take one of the tops (two halves), and place them on the frosting with the straight edges facing out.


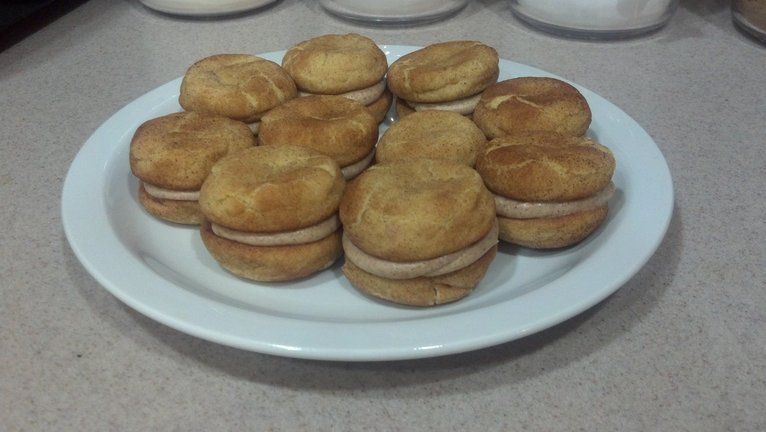
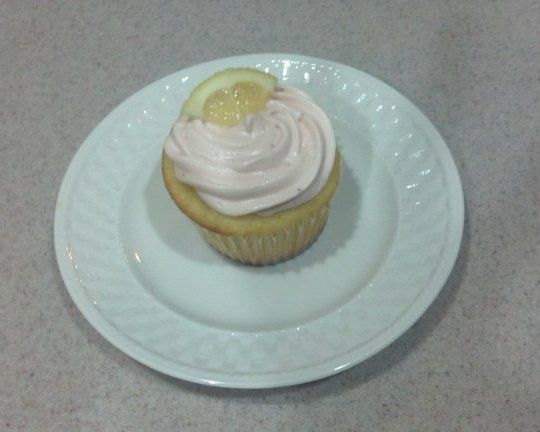
Ta-da! Look what you've done!

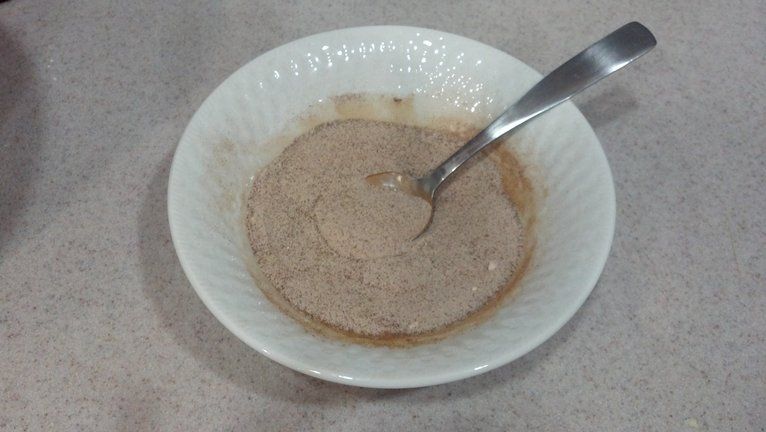
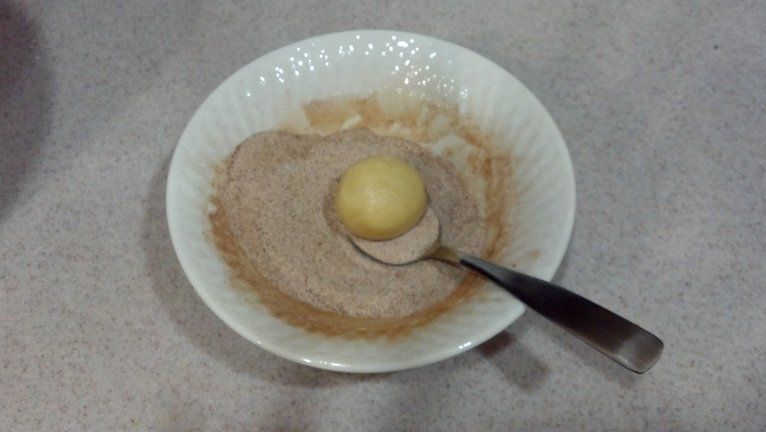
And lastly, since butterfly cakes are usually served with a sprinkle of powdered sugar, I figured I would add my own twist ;]

Cocoa powder!


Just take a little cocoa powder and a sifter and dust!


And you're done!

All in all, I was very pleased with this recipe! It was so much to try a little something different with cupcakes. And who doesn't like Nutella?!

As far as the cake goes, it was a teensy bit crunchy on the top. But some people like that! And the Nutella made for a very rich frosting. Luckily I didn't use too much ;]

Now PLEASE! Try it out and let me know what works, what doesn't, what you hate, what you love, you know!


Tuesday, July 24, 2012

Snickerdoodle Creamwiches


I know, I know... It's been too long. I've been really lazy, and then I had carpal tunnel surgery, buuuut now I'm back! Hooray!

Life has changed a bit, and I have a lot more time to myself. Well, at least on Tuesday, Wednesdays and Thursdays haha.

Again, my girlfriend asked me to make something. And since she's been in love with my snickerdoodles lately, I decided to do those.


But with a little something different ;]


I came up with a snickerdoodle cookie sandwich with a cinnamon cream cheese center. Yum!


And onto the pictures!


My squishy face super excited picture. It also happens to feature my AWESOME R2-D2 apron. Pretty good Mother's Day gift ;]


My drink for tonight; Miss Stella Rosa. I am not a wine drinker, but this is a very sweet wine that is also carbonated! Add bubbles to anything, and I'm an instant fan.


And now for the recipe!


For the snickerdoodle cookies:
  • 1/4 cup softened butter
  • 1/4 cup shortening
  • 3/4 cup white sugar
  • 1 egg
  • 1 teaspoon vanilla extract
  • 1-1/3 cups flour
  • 1 teaspoon cream of tartar
  • 1/2 teaspoon baking soda
  • 1/8 teaspoon salt
  • 1 tablespoon white sugar
  • 1 tablespoon ground cinnamon
Now as far as the butter and shortening go... I actually used a 1/2 cup of butter flavored shortening. This way, the cookies stayed extra chewy in the middle. 


Preheat your oven to 400 degrees. Line your cookie sheets with parchment paper.


First, you're going to cream together the shortening/butter and sugar. It should look something like this:


Next, go ahead and throw in the vanilla and egg. You might want to separate the egg from the shell, but that's just my personal suggestion ;]


Once those are all mixed together, it should resemble this:


Looks a bit like mushed bananas, yeah? Anyhoo, continuing...


Next step is to start adding in the flour mixture. And by flour mixture, I mean the flour, cream of tartar, baking soda and salt. Either whisked or sifted, your choice :]


Now it's the fun part. Play time! Mix together the white sugar and ground cinnamon in a small bowl.


Take small pieces of the cookie dough and roll them into a ball. Toss the ball (GENTLY, please) into the cinnamon sugar mixture and coat it liberally. Like so:


Then simply give it a temporary home on the cookie sheet. Once you have them all done, that first one won't be so lonely :P


Pop those puppies in the oven for about 8 minutes. I baked mine for 10 minutes, and I wish I hadn't :[


All done! Well, with the cookies at least.


When they're cool enough to handle, transfer them to a cooling rack. You can even flip them over, so that they're ready for piping.


Onward! To the filling!


For the filling I went with a typical cream cheese frosting, but spiced up with cinnamon :D


For the Cinnamon Cream Cheese Frosting:

  • 1/4 cup softened butter
  • 4 oz cream cheese
  • 1/2 teaspoon vanilla extract
  • 2 cups confectioner's sugar
  • 2 tablespoons ground cinnamon
And yes, I put the vanilla in a shot glass... What of it? :P


As usual, mix together the cream cheese and butter first, like so.


Next, add in the vanilla. Let the vanilla mix in well before the next step, which is adding the cinnamon!


And NOW we can start adding the confectioner's sugar! Little by little, please. And take some time to scrape down the sides to make sure it all gets cozy.


When it's done, it should be somewhere in this neighborhood:


Time to let your inner artist shine! Fill up your piping bag with this beautiful tawny cream, and swirl it on.


Close 'em up, eat them right away, or refrigerate them for a delectable chewy and chilly treat!


Now, I really would like for my cookies to have been a little flatter for this, but no. Of course they came out perfectly rounded this time *sigh*


Now for the taste test...


YUMMMM. The middle is still nice and chewy, with the outside being slightly crispy. The cream was a little soft for me, but then again, I'm impatient and I ate mine right away.


THESE WERE SO MUCH FUN.


Now one again, I beg you to make them yourself and let me know how they turn out!

Wednesday, April 18, 2012

Strawberry Lemonade Cupcakes

I really need to do these more often... Anyhoo! Time for more cupcakes :D

I've been doing quite a bit more baking lately, and looking for recipe suggestions, combination ideas and all sorts of fun stuff.

This time, my girlfriend requested that I make Strawberry Lemonade cupcakes. Want to know a secret? I don't even like lemon cake! Oh, the things we do for love.

And time for pictures!

First, my drink. Whipped Cream Vodka (yes, again) and Shasta (!) Orange Soda. Since we got a WinCo in town, I have to have the Shasta soda. It just reminds me of where I grew up :]


And I was so excited to make these, that I forgot to take a picture showing how excited I was! Derp.

Now, in order to do a "strawberry lemonade" flavor, I made a light lemon cupcake with a strawberry cream cheese frosting. Let's gather our ingredients!

For the lemon cupcakes:
  • 3 cups self-rising flour
  • 1 cup unsalted butter
  • 2 cups white sugar
  • 4 eggs
  • 1 teaspoon vanilla extract
  • 2 tablespoons lemon zest
  • 1 cup whole milk
  • 2 1/2 tablespoons fresh lemon juice


Vanilla extract not pictured... Because I have the memory of a goldfish :D

Pre-heat your oven to 375 degrees, and grease and line your muffin tins.

First step: Flour! Now, the recipe calls for self-rising flour. But I don't have any, and I'm not about to buy some for one recipe. So instead, I combined 3 cups of all purpose flour, 4 teaspoons baking powder, and 1 teaspoon salt.

I sifted it together 3 times, but if you can also whisk it together.


Once the flour is ready, beat together the butter and sugar with your electric mixer.


Now go ahead and beat in the eggs. One at a time, making sure each one is fully incorporated before adding the next.


Next, mix in the vanilla and lemon zest.

Now a note on the lemon zest. I have never zested any citrus until now. Boy, do I wish there was a machine for that! Total pain in my neck, quite literally.


After the lemon zest and vanilla are all mixed in, it's time for the flour, milk and lemon juice.


Add 1/3 of the flour to the butter mixture, then half of the milk and half of the lemon juice. Add another third of the flour, then the rest of the milk and the rest of the lemon juice. Lastly, add in the remaining third of the flour.

Beat until just combined, be careful to not over mix.

Once it's all mixed in, it should look something like this:


Now grab your ice cream scoop and fill those tins! Only about 2/3 full please :]


For bake times, I checked mine after 13 minutes, and they were still raw in the middle. 16 minutes seemed to work perfectly.

While those bake away, we're going to work on our frosting!

For the strawberry frosting:
  • 8 oz cream cheese
  • 5 tablespoons butter
  • 2 tablespoons vanilla extract
  • 2 cups powdered sugar
  • 2 tablespoons fresh strawberry puree


Side note time! Here, the recipe called for "fresh" strawberry puree and 2 tablespoons of vanilla extract. I didn't have fresh strawberries, and I forgot to thaw the frozen ones that I did have. Also, I wanted more of a strawberry flavor.

So instead, I used 1 tablespoon of vanilla and 1 tablespoon of strawberry extract mixed in with strawberry puree.

First cream together the butter and cream cheese.


Mix in the vanilla real quick. Next, is the powdered sugar.

With the powdered sugar, you want to add it gradually to make sure it mixes in real nice and smooooooth.

Here's about what it looks like after all the powdered sugar is mixed in:


Lastly, add in the strawberry puree.


Now you want to whip it really quickly for a while so you can get a lot of air in there. We want it light and airy.


Let's get our cupcakes all ready to frost :D

Mmm... Yummy little blank canvases!


As usual, fill up your piping bag and go to town!


Ta-da!


Please excuse the poor quality pictures. I still haven't gotten around to buying an actual camera just yet.

I think they look pretty damn cute, if I do say so myself :]

As far as taste is concerned, YUMMY! I'm not usually a fan of lemon cake, but I am really happy with how these turned out!

Next time, I'd like the frosting to be a little bit thicker. It was a little too thin for my preference, but tasty nonetheless.

All in all, I'd say these were a smashing success! Please, please, PLEASE try this recipe yourself and let me know how it turns out! I'm dying to know!